Investing in a DSLR camera for your photo operations is an exciting and very rewarding step in enhancing the tour experience for your clients. You will deliver the best quality photos that will stand out to your guests who will subsequently purchase and then share with their friends and family. To keep your DSLR investments in action, making you money and capturing memories, we’ve put together a guide.
This photo guide for ziplines is divided into three categories to ensure your operation is prepared to prevent and quickly deal with any damage to your DSLR cameras. It is written from first-hand experience at WestCoast Wild Zipline, Vancouver Island Canada by Manager, Kelly Bedford.
Kelly wanted to share what his team learned over our years with PicThrive using DSLR cameras so that you can accelerate your own operations. This guide was created from first-hand experience and their need to constantly improve. Kelly had some equipment losses over the seasons, cameras getting wet from rain, lens caps get lost and UV filters get scratched. Each time it occurred, they improved the plan and made the necessary adjustments.
As a result, the training, investment, and effort all paid off, according to Kelly. Kelly had their best year yet in 2017, with a 34% increase in sales (this year alone) and their margins were very good. Kelly can report ZERO losses of equipment this year, his guides/photographers made good commissions and their guests loved and bought lots of photos.
The DSLR Camera Guide for Ziplines
Before we get into organizing your kits, you should really ask yourself: What are the element’s you need to consider that will affect your equipment? What kind of weather do you need to be ready for while your gear is out capturing the action?
To create a solid plan for all seasons, take a moment and search your local weather statistics over the last 2-5 years. Looking at these trends will help you be prepared.
1. At Your Base Camp
Have an area designated for uploading photos as well as for storage and routine maintenance of the cameras. Our storage, maintenance/ cleaning and S/D reader for the P.C. are in the same location. Every hour, a camera goes out on tour and the other comes back in. Our area has a place for everything we need in small footprint. It’s well-lit with easy access for photographers to move to and from with their busy timelines.
Regular maintenance and cleaning are important for any piece of equipment. Your camera will be out being used many hours a day. Having a cleaning kit and a schedule for inspection, cleaning and maintenance is key to keeping your gear performing well for many profitable seasons.
Overnight Storage Location Checklist
- Overnight storage location needs to be in a dry and dust free environment (Manager’s office works well)
- Protective cases for camera’s and lenses at location (cameras get stored in its case when not in use)
- Silica Gel packs inside your cases will ensure your equipment gets completely dried out while in storage
- For cleaning and maintenance, a small well-lit table to spread cleaning equipment out on is helpful
Cleaning and Maintenance Kit Checklist
- Cans of compressed Air for clearing dust from lenses and camera housing (have safety glasses available and use)
- Camera lens cleaning cloths, synthetic or paper and Q-tips (Synthetic cloths- keep clean regularly)
- Alcohol-based cleaner for clearing fingerprints and smudges (apply to cloth or Q-tips not to lens or camera)
- A few large zip lock bags and a bag of rice for emergency drying (if equipment gets significantly wet, dump rice in ziplock bag and submerge in dry rice)
2. On your Tours
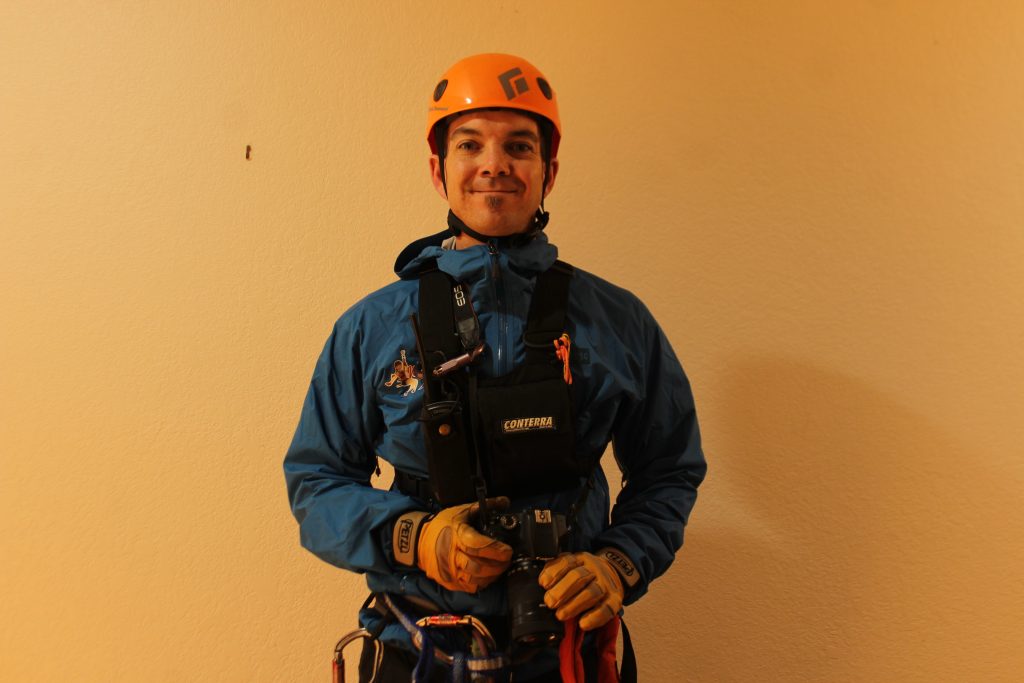
While on tour your camera needs to be out getting great shots of your guests and their experience. Conditions can quickly change mid-tour. Photographers having a decent quality, 10 L dry bag with them will give them the confidence to keep the equipment safe during inclement weather.
We always use a UV or Skylight lens filter over our lens, they protect your expensive lens and help with cutting out the UV light. Combined with the vigilant use of a lens cap cover tied to the lens itself, gives you the best chance of keeping your equipment operational for a long time.
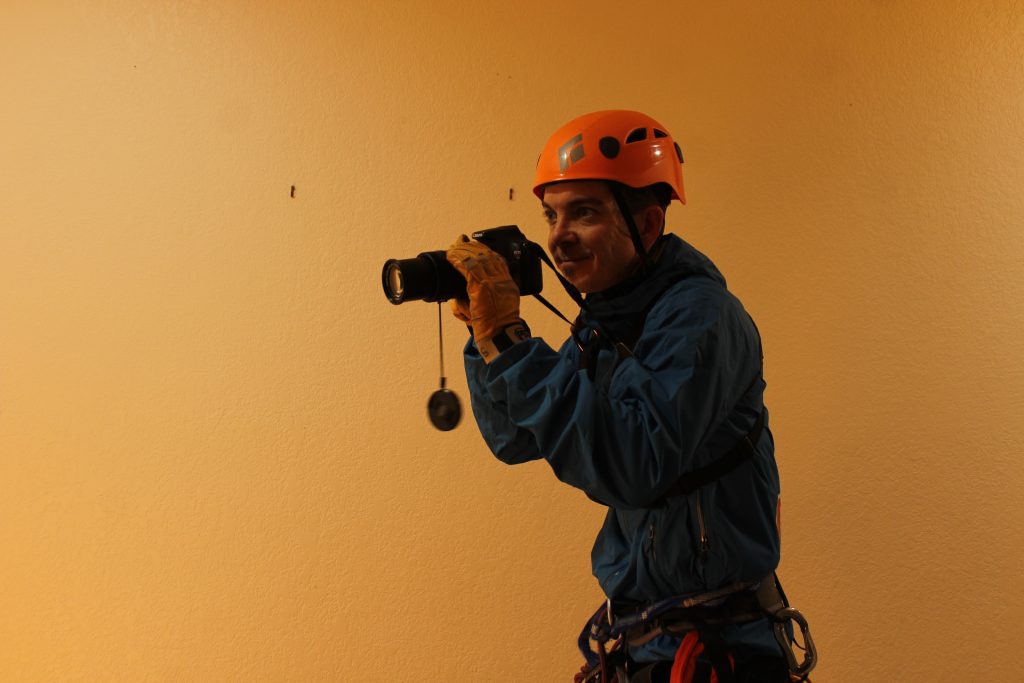
For the safety of your photographer and the camera always ensure your photographer does not take risks and always shoots from a stable position.
Equipment Checklist
- UV or Skylight Lens Filter is fixed to lens and secure
- Protective lens cap is fixed and secure to lens with cord
- Dry bag for camera is attached and secure to photographer
- Battery is charged
- S/D Card is empty and in camera
- Camera is securely attached to photographer (use Carabiner if needed)
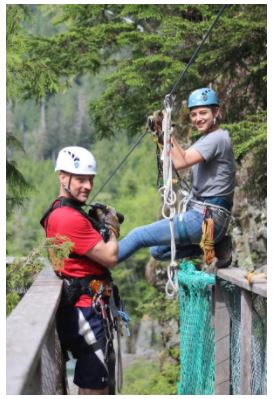
How to Carry and Secure a Camera on Tour
Look closely you can see how the camera is slung around the shoulder, with the strap fully extended. There is an auto-locking carabiner securing the strap to my radio chest harness.
This technique can be used with variations. We like it because it keeps the camera tight to our body with easy access for a great shots while ensuring safety remains the priority. The Lens cap cover and dry bag on my harness (orange).
3. In Between Your Tours
When the camera comes back from tour, we always bring it to a designated safe spot in the office where the S/D reader, cleaning kit and battery charger are located. This routine ensures that the camera does not goes missing or damaged during the action at base camp. Your photographers also get the chance to perform a quick inspection and cleaning if needed in between tours.
Photographer Pre-trip Checklist
- Be aware of weather and lighting conditions for the duration of the next tour (take dry bag if needed)
- Ensure battery is charged and S/D card is empty
- Ensure lens and camera are clean, lens cap and lens filter are attached to lens
- Take a few test photos and delete once you know the camera is working
- Secure camera to photographer if needed (eg: carabiner clipped to strap then to a harness)
- Communicate with team to set up group shot locations, opportunities for photos on tour and any lessons learned from the previous tour. Know the plan, use the camera when you have the best opportunities
- Take a group photo at your base camp or office of your tour before you depart
One last tip.. make sure all your photographers can demonstrate how to use the camera and lens properly before they are finished training.
Best of luck, have fun and be safe!
Kelly Bedford
About Kelly Bedford
Kelly Bedford has been fortunate enough to work in the Adventure Tourism Industry for over 15 years with backgrounds in Outdoor Education and Operations Management. He currently manages an eco tour company on Vancouver Island and has used PicThrive now for years to capture and deliver amazing photos and memories for countless guests and adventure seekers.


Hi
Your Post Is Very Great. All Tips Which You Tell For Carrying & Protecting Your DSLR Camera For Ziplines Is Really Great….Thanks For Sharing